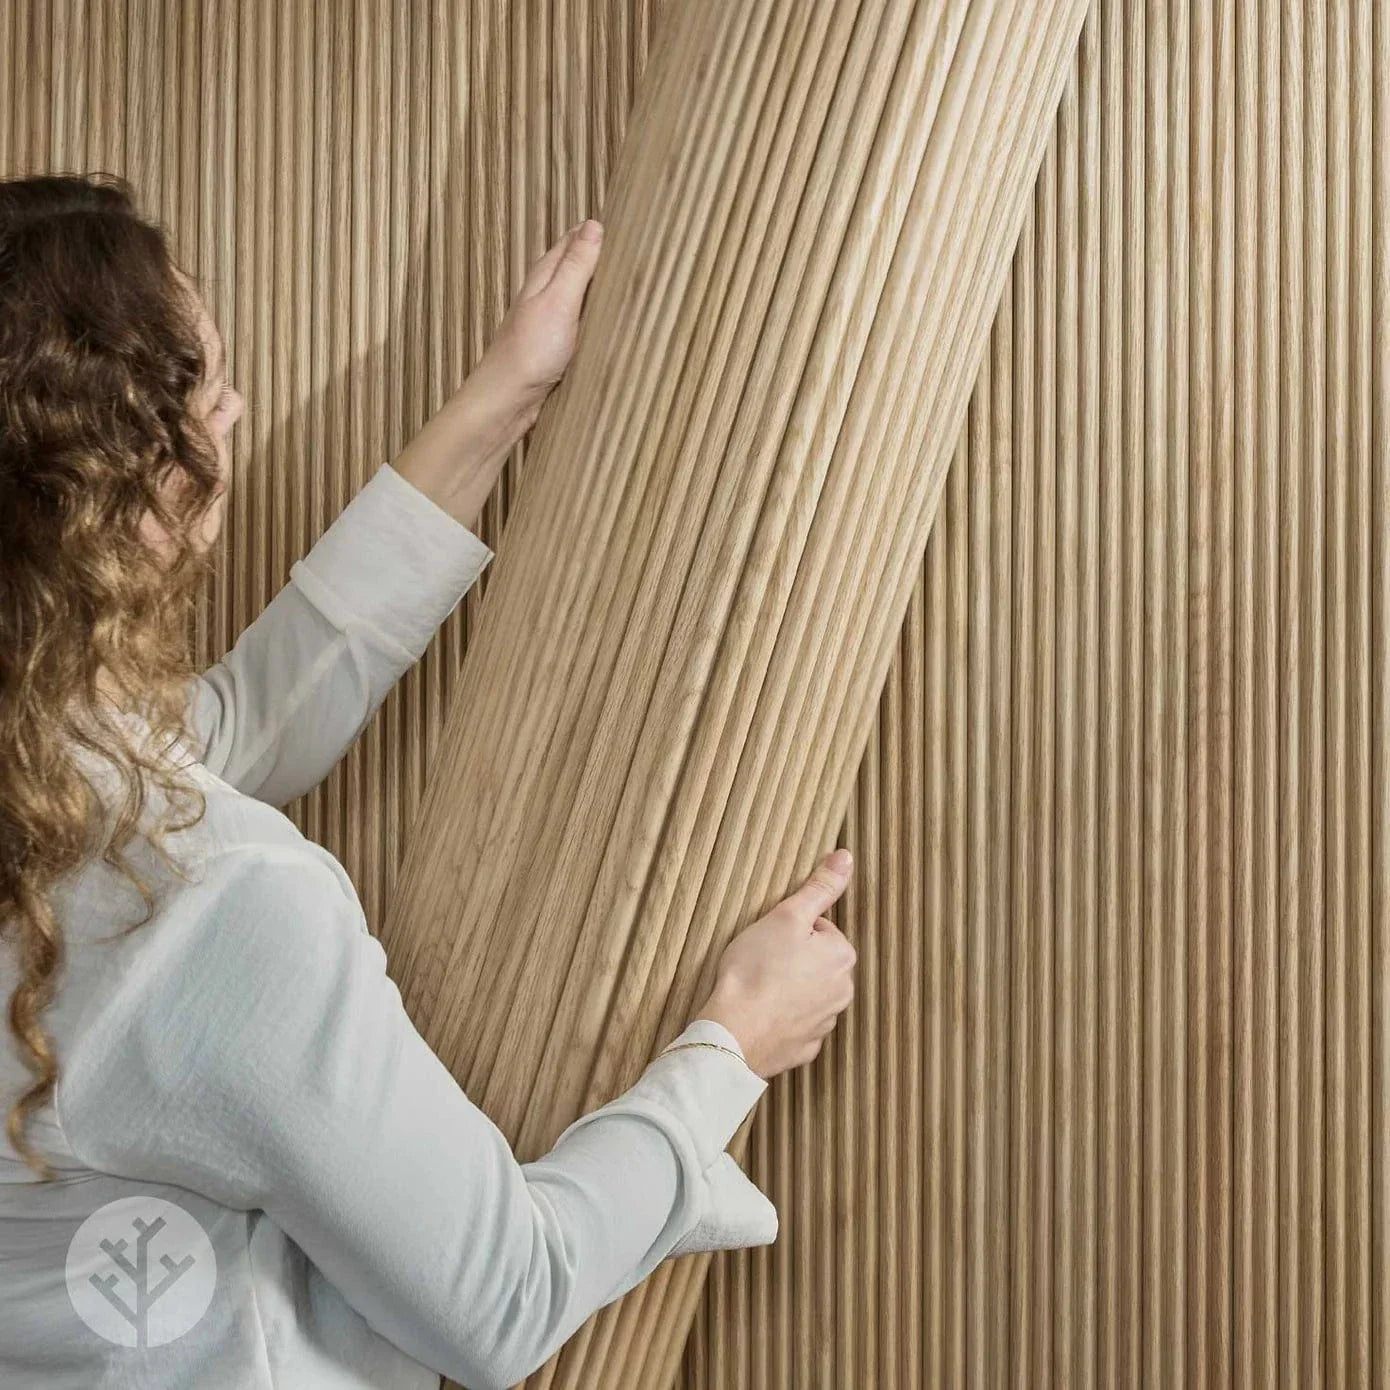
Installing WVH panels
Our panels are designed to install cleanly using common tools and clear steps.
This guide shows the general installation approach used across WVH panel ranges, with fixing methods adjusted depending on the panel type.
The steps below are demonstrated using Acupanel, as it clearly illustrates the core principles that apply across all of our panel ranges. Where fixing methods differ, this is noted throughout the guide.
Watch the installation process
This video demonstrates the general installation method using Acupanel. While panel types may vary, the preparation, cutting, and alignment steps shown here apply across most WVH panels.
Fixing methods may differ depending on the product. Refer to the notes below or contact our team if you’d like confirmation before installing.
Step-by-step installation
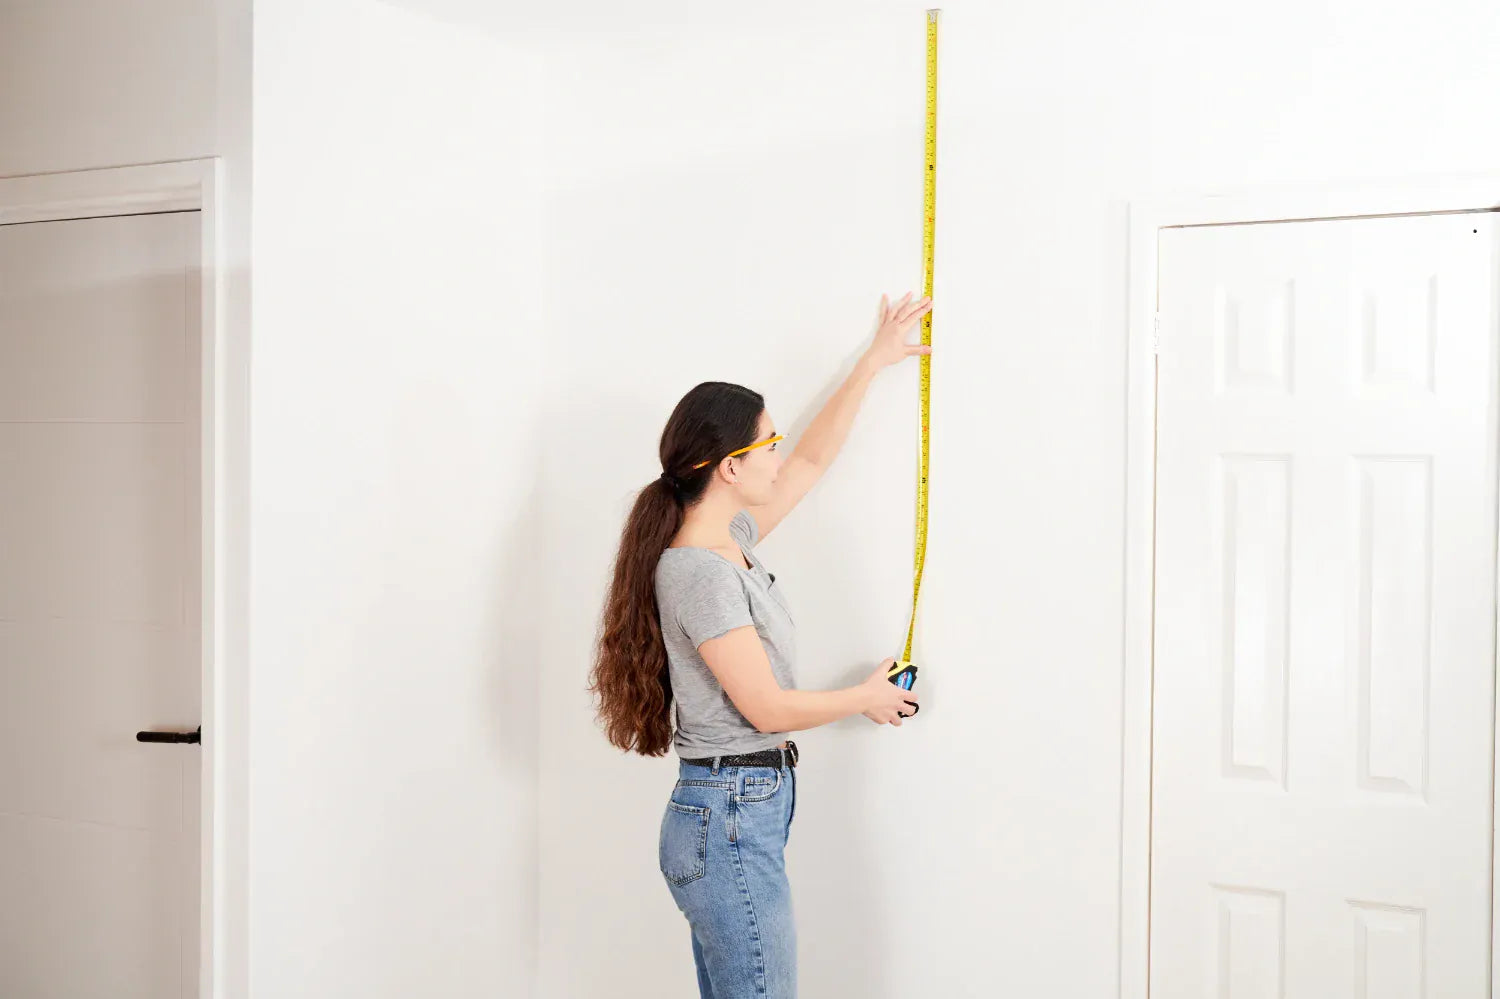
Step 1
Measure the walls
Measure the height and width of your wall carefully and plan your panel layout before cutting. If you’re unsure about spacing or how many panels you’ll need, you can send your measurements to our support team or give us a call and we’ll help you lock in the right quantity before you order.
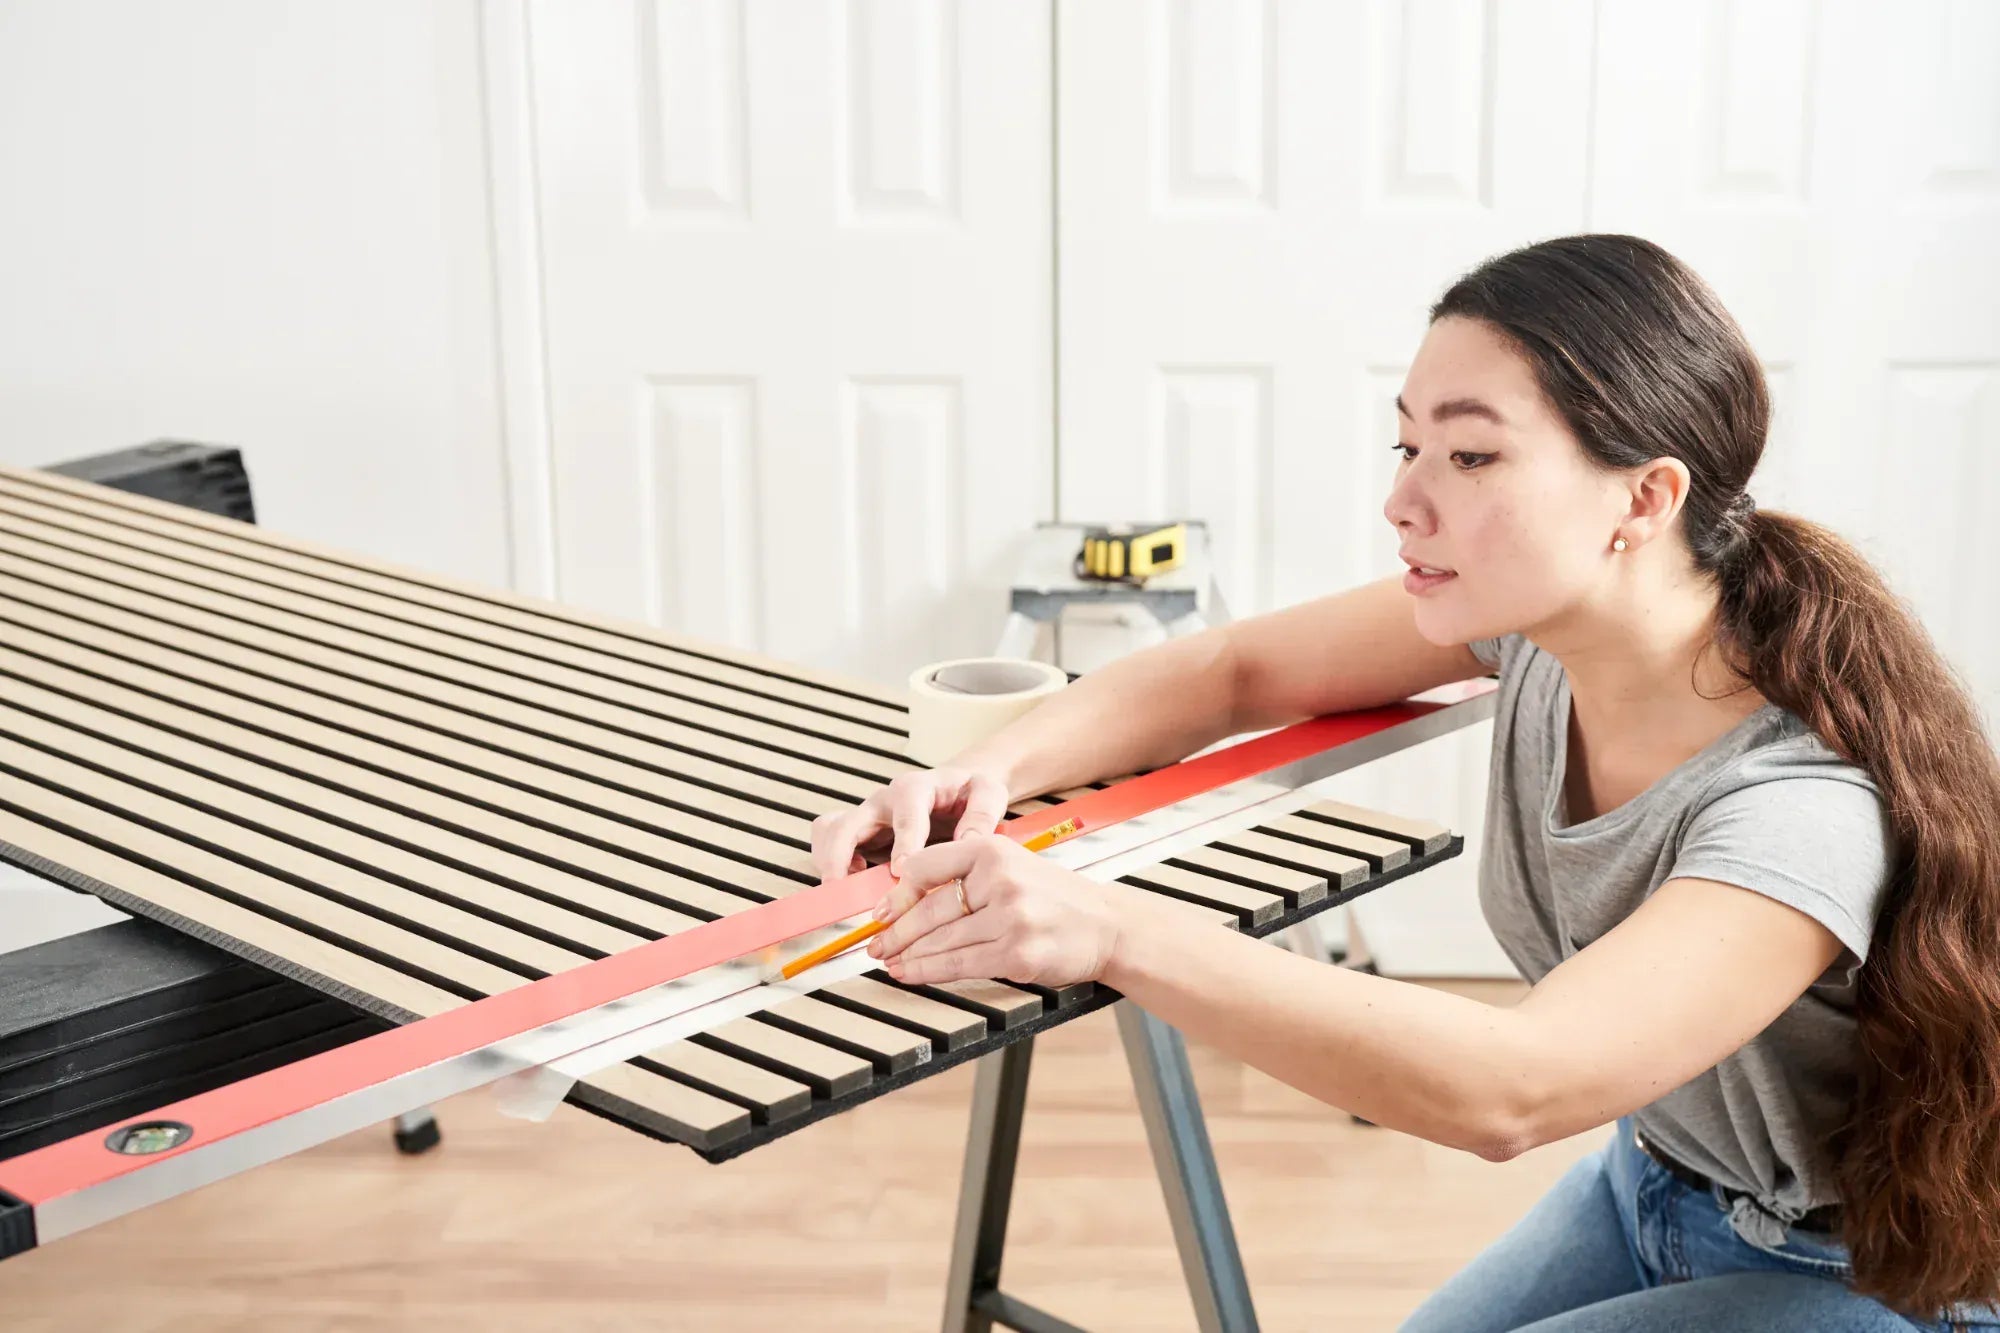
Step 2
Mark your cut lines
Apply paper tape to the panel where you plan to cut, then mark your cut line directly on top of the tape using a pencil. This helps prevent splintering during cutting and avoids marking the panel surface itself.
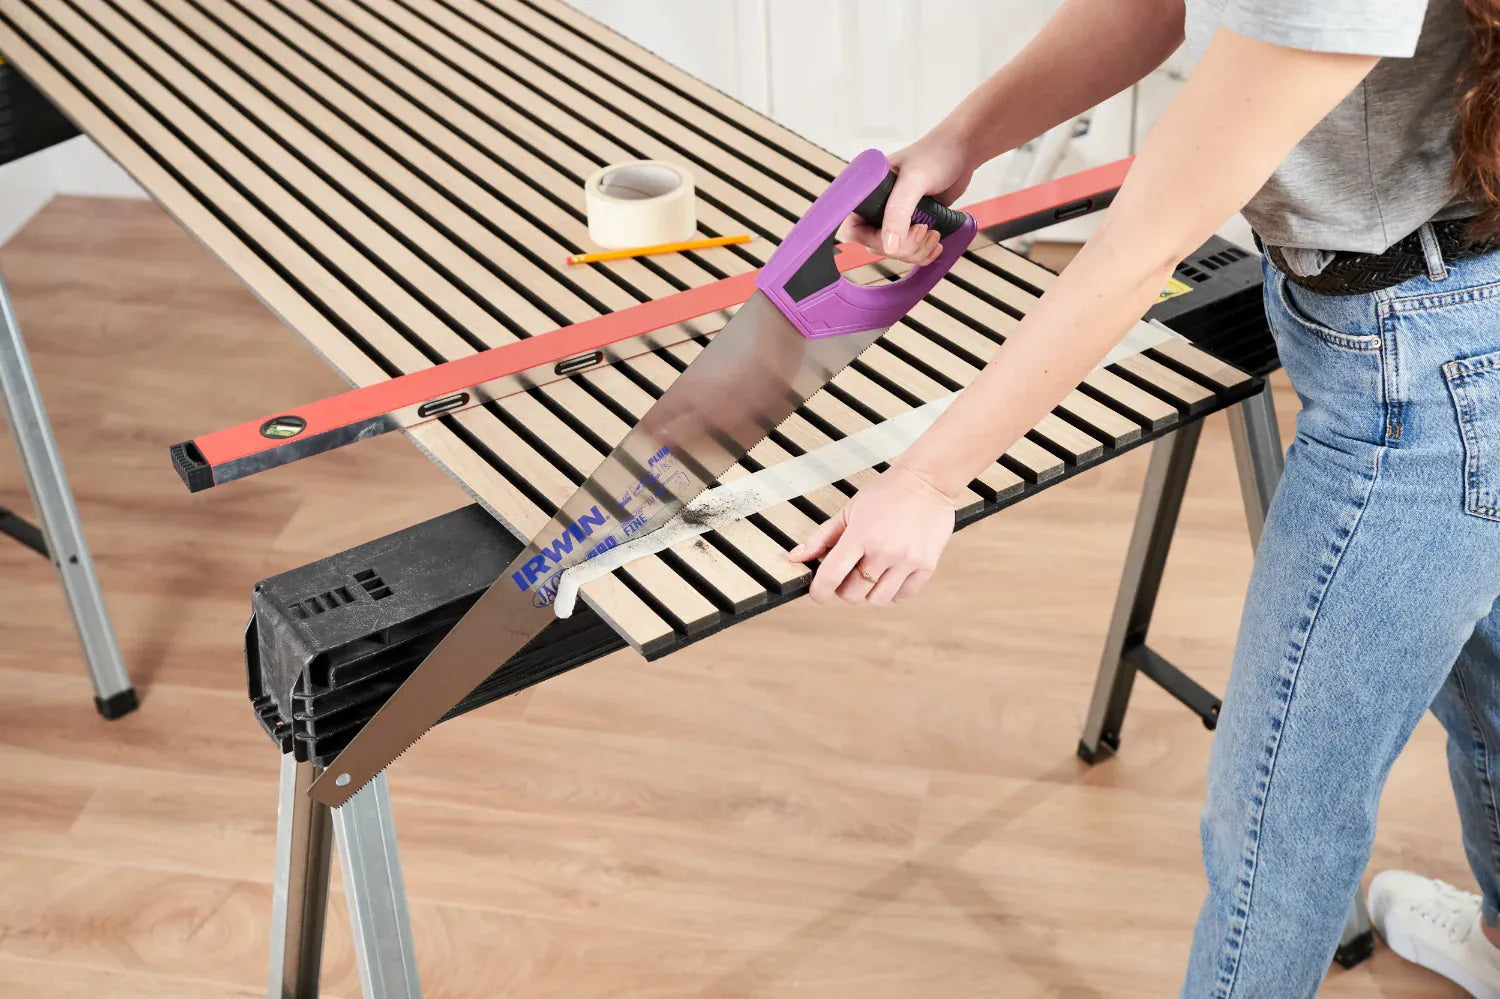
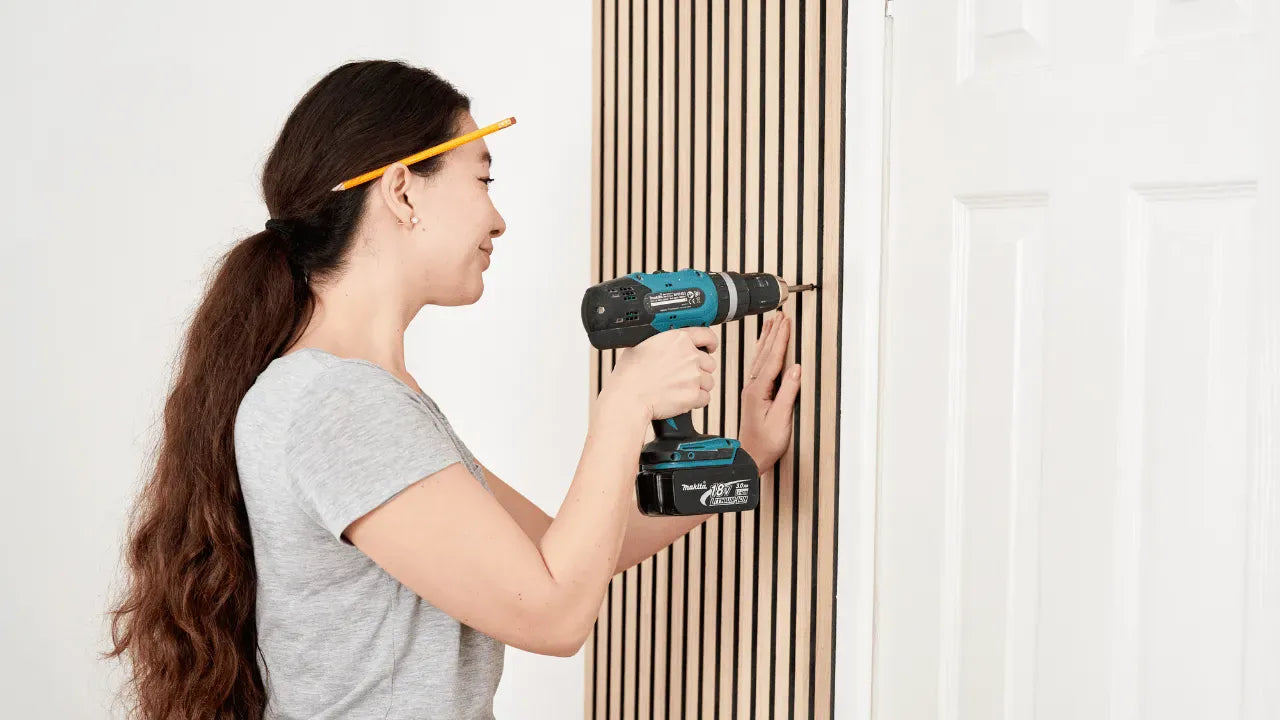
Step 3
Cut the panel to size
Cut along the marked line using a sharp, fine-toothed saw for the cleanest result. A track saw or circular saw works well for straight cuts, while a hand saw can also be used with care. For lengthways cuts, the felt backing can be trimmed with a sharp utility knife.
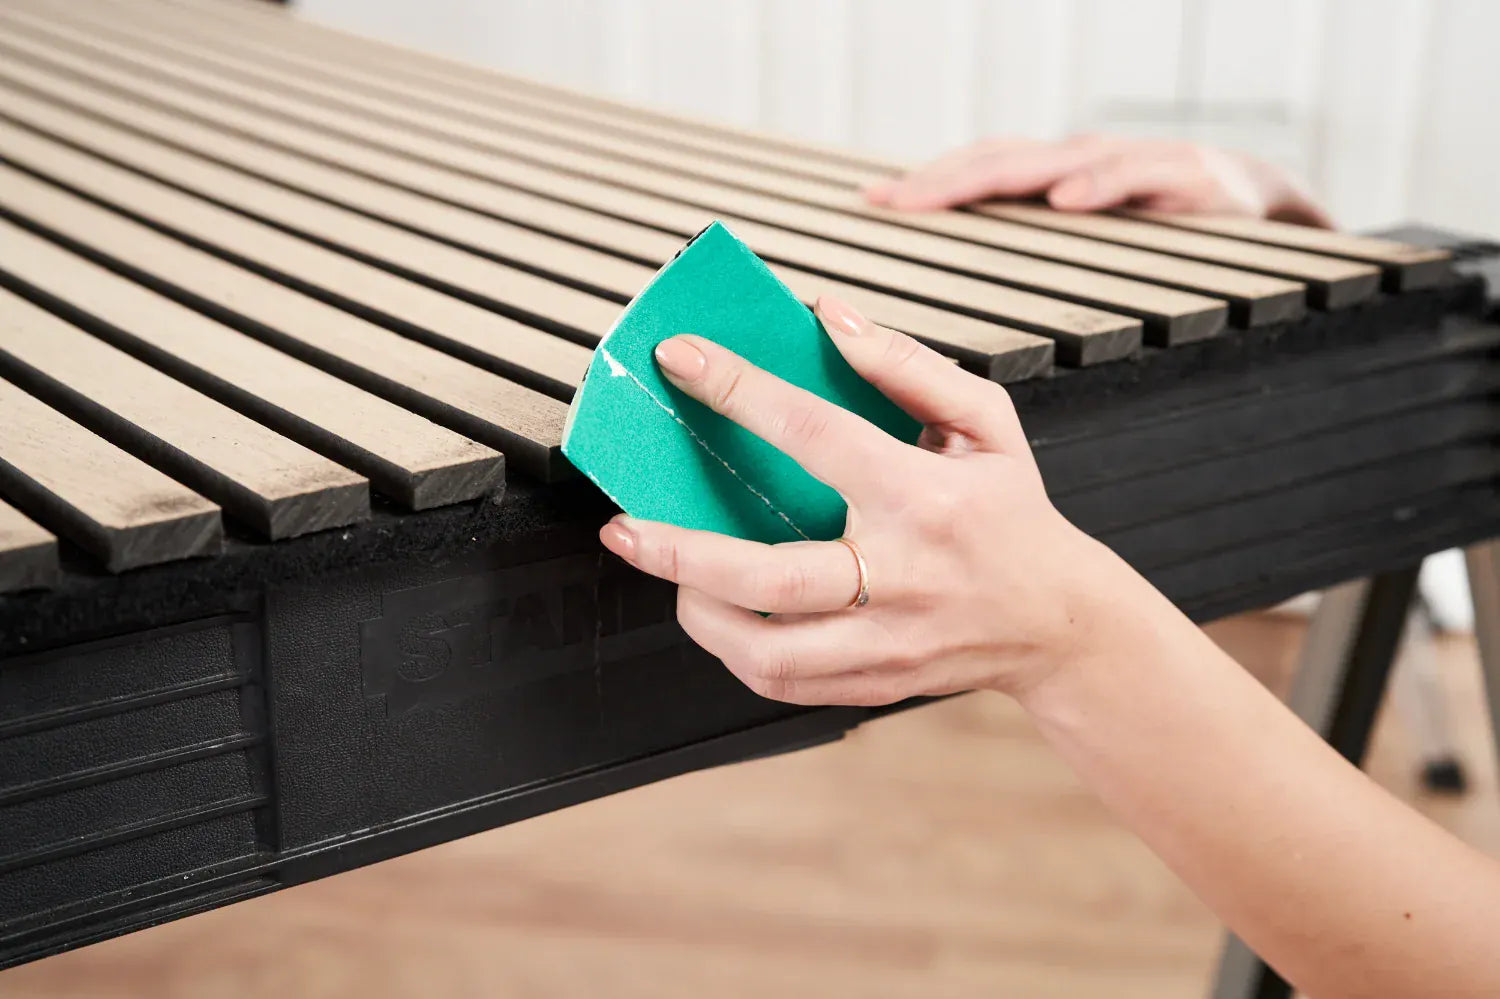
Step 4
Smooth the cut edges
Lightly sand the cut edges until smooth. This step helps refine the finish and ensures the panel looks clean and intentional once installed.
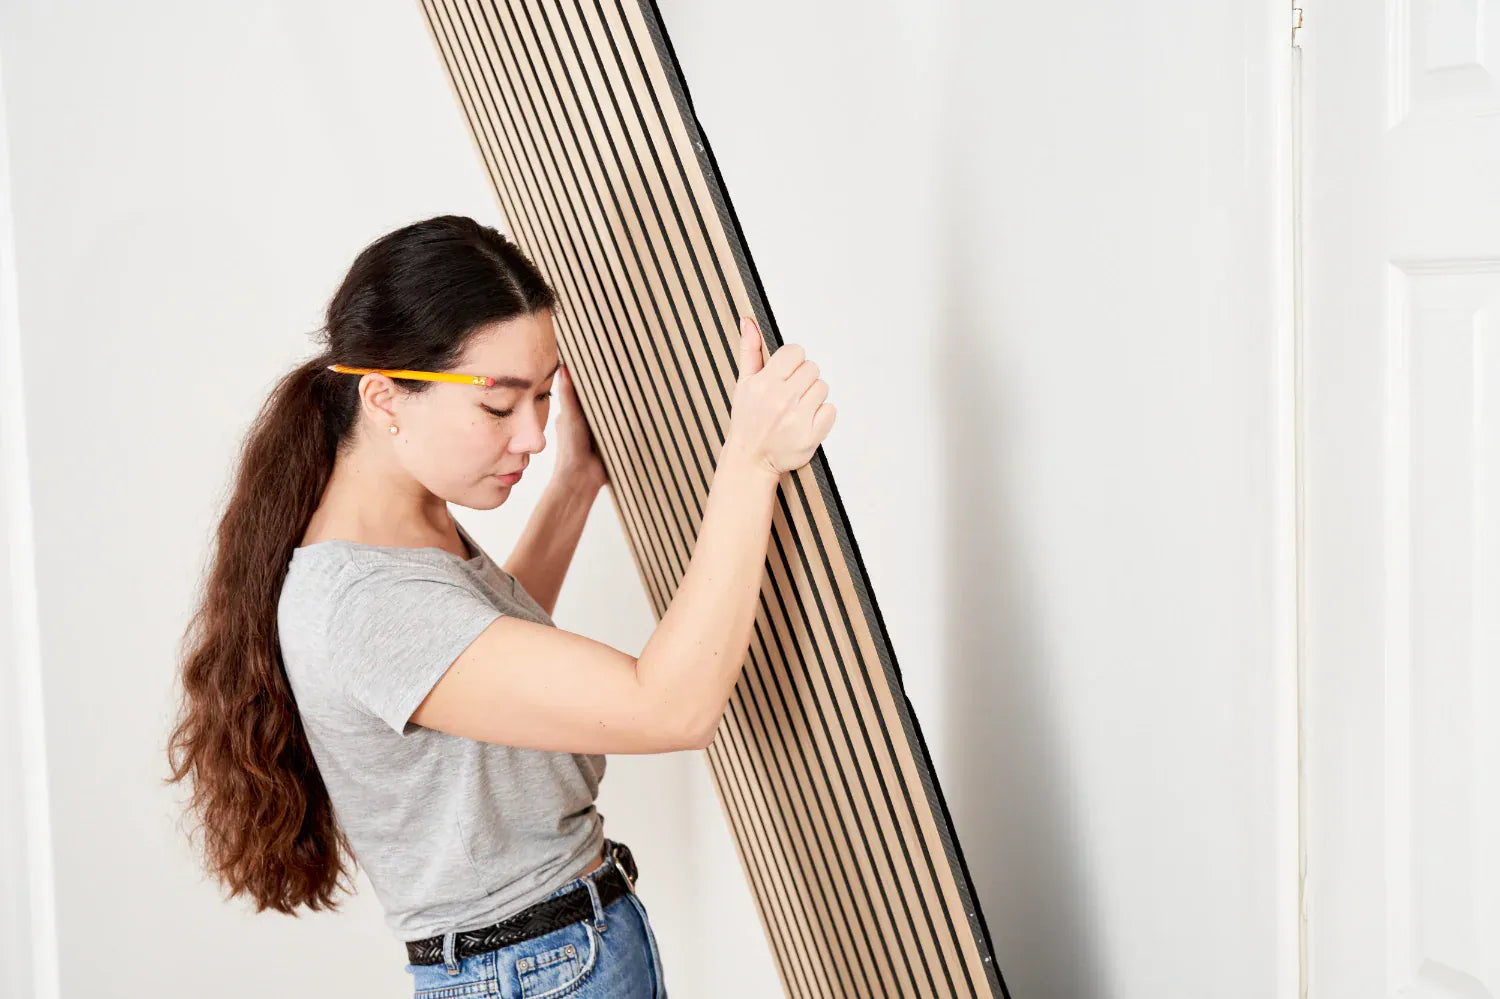
Step 5
Position the panel on the wall
Place the panel against the wall and check alignment before fixing. Make sure it’s straight and sitting flush, ready to secure in place.
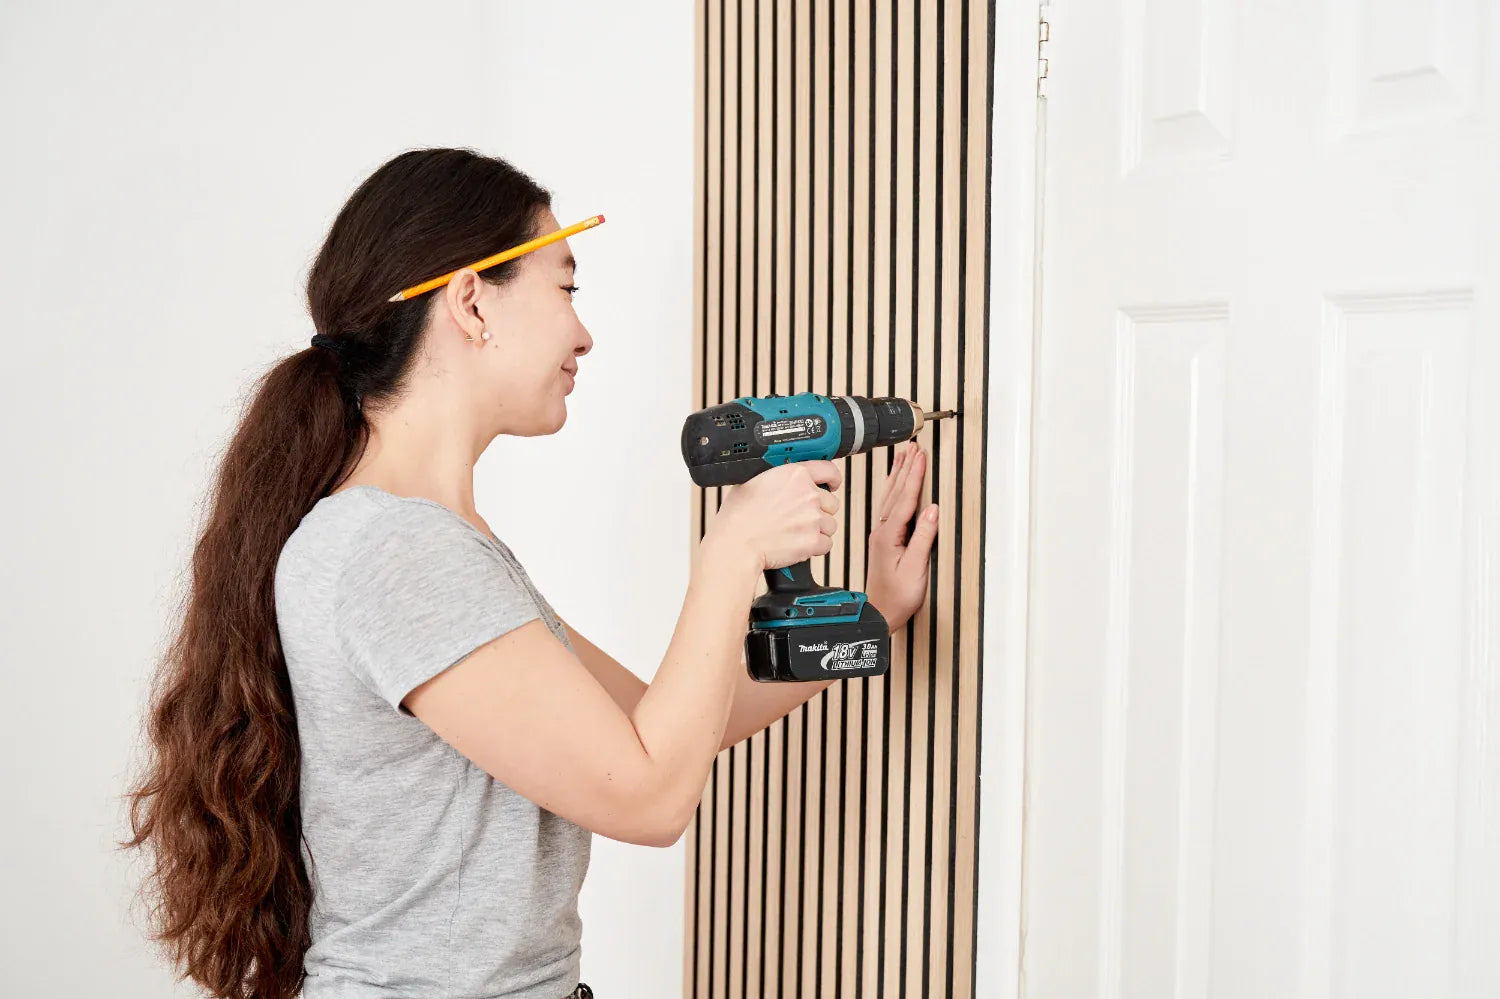
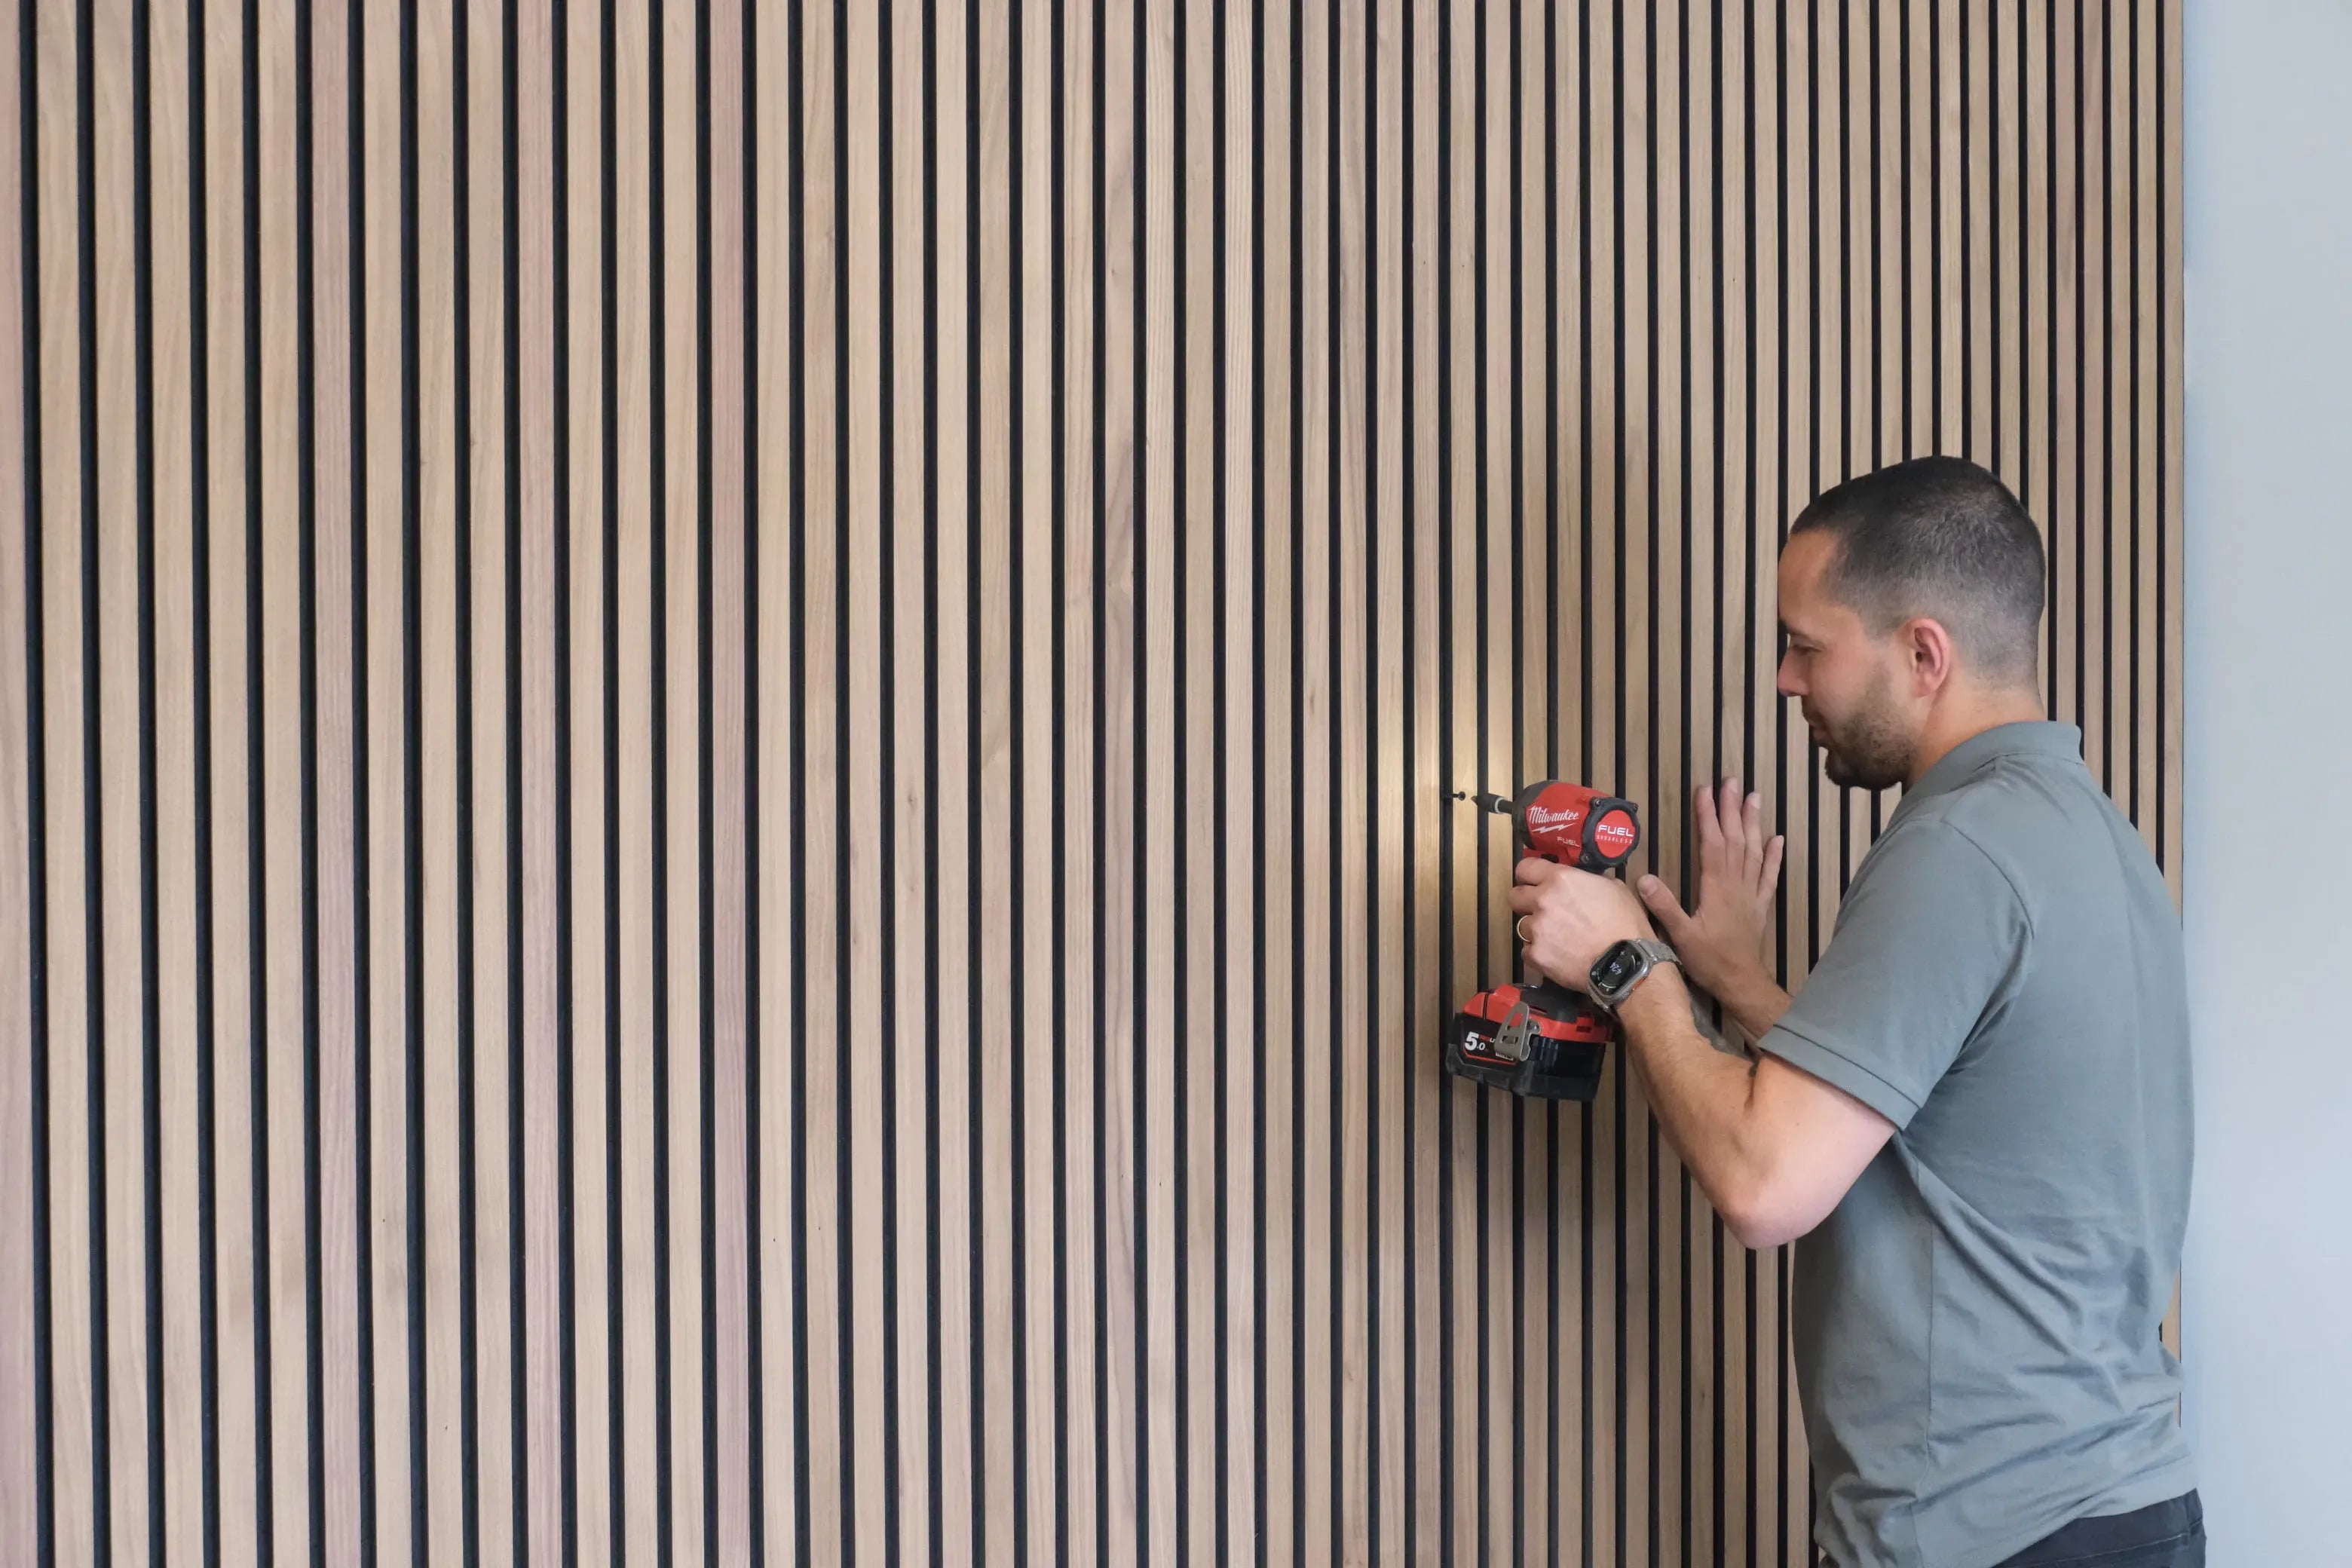
Step 6a
Fix the panels with screws
Secure panels by screwing through the felt backing between the slats and into the drywall. Use four screws per side, evenly spaced to keep fixings discreet. Matte black screws blend into the felt for a clean finish.
Suitable for felt-backed panels, such as Acupanel, and can be removed later if needed.
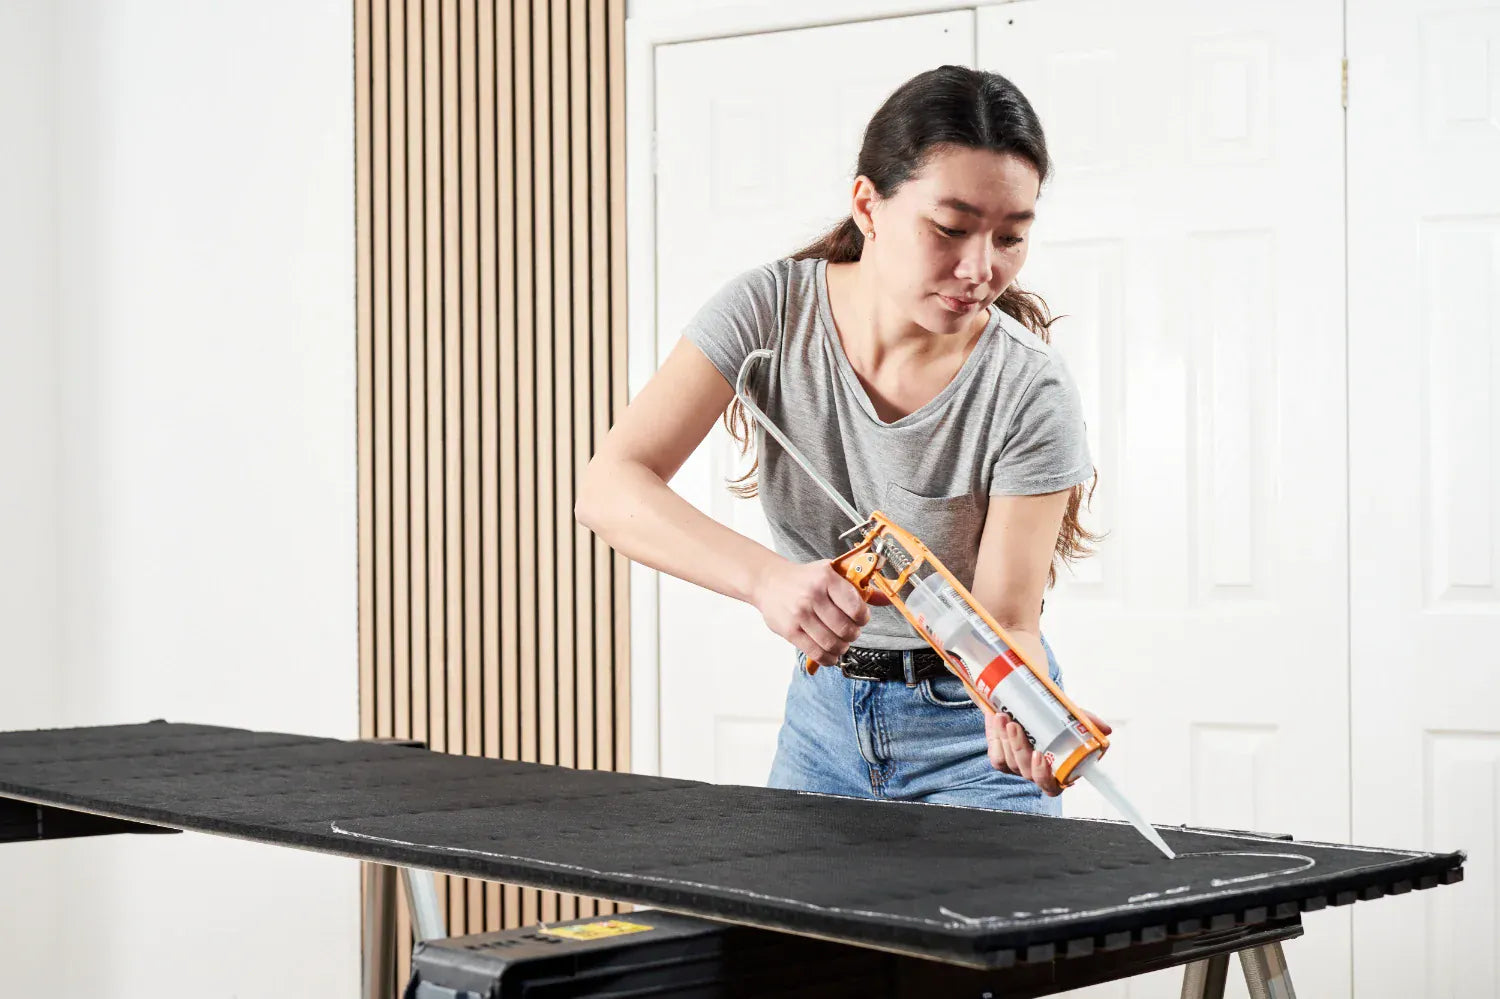
Step 6b
Fix panels with adhesive
For a permanent install, fix panels using WVH panel adhesive. Apply a bead around the perimeter, slightly in from the edge, then a zigzag down the centre before pressing firmly onto the wall.
Suitable for all WVH panels, including panels without felt backing.
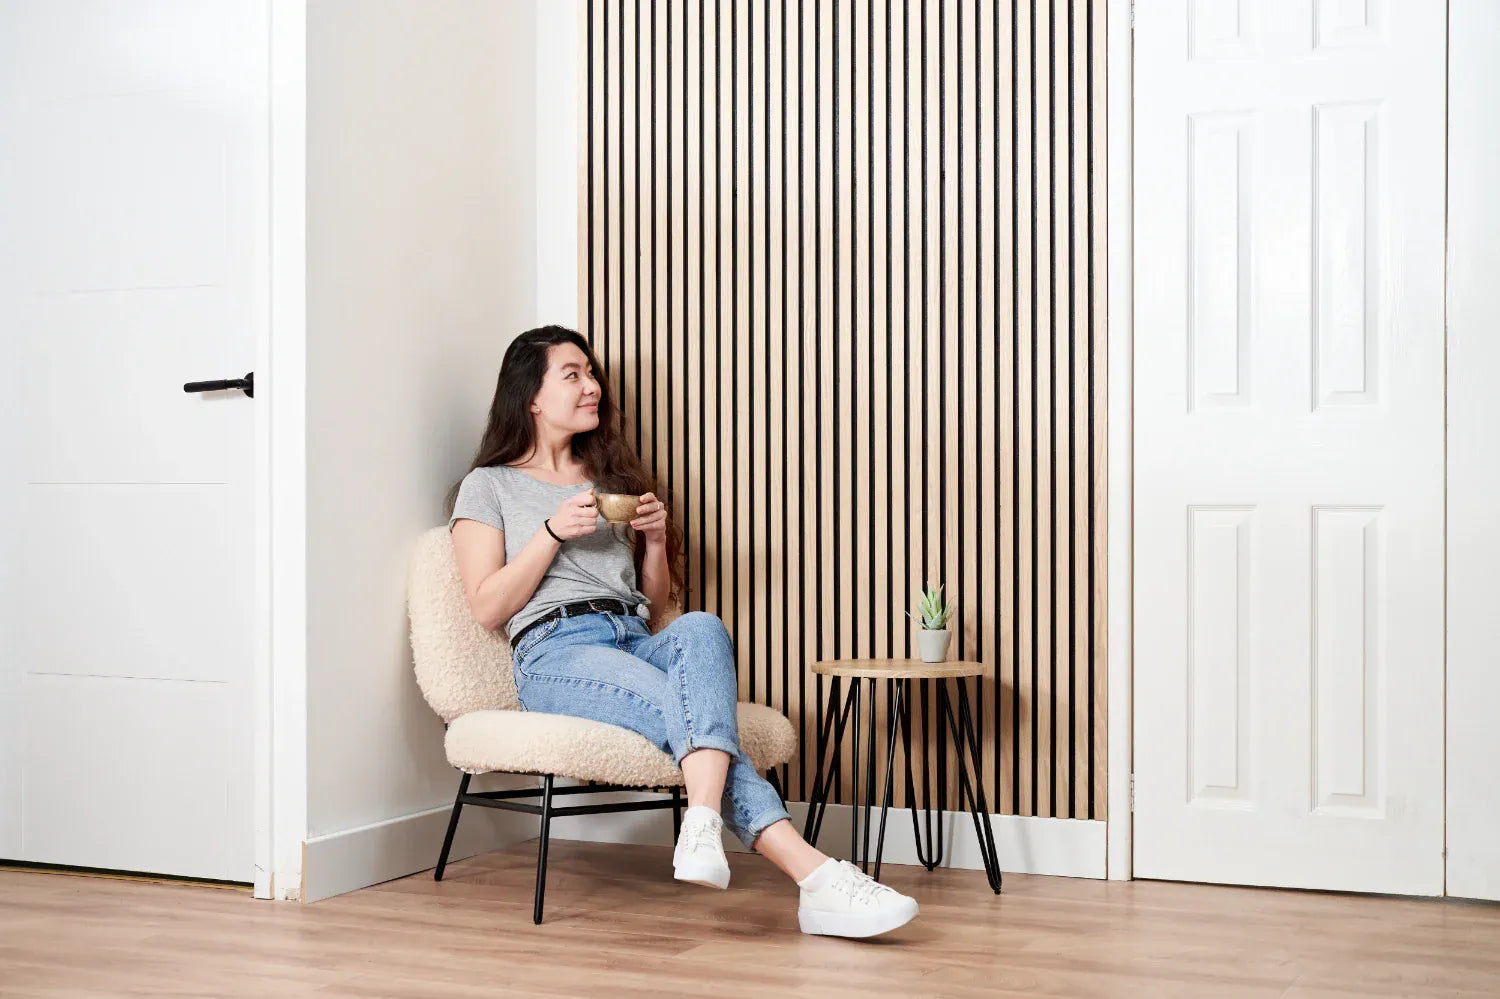
Step 7
Enjoy the finished space
Once installed, your panels should sit cleanly and securely, transforming the look and feel of the space. Take a moment to step back and enjoy the finished result.
If you have any questions before, during, or after installation, our team is here to help.

Need a hand?
If you have any questions before, during, or after installation, our team is here to help. Whether it’s fixing methods, tools, or panel-specific advice, just reach out.